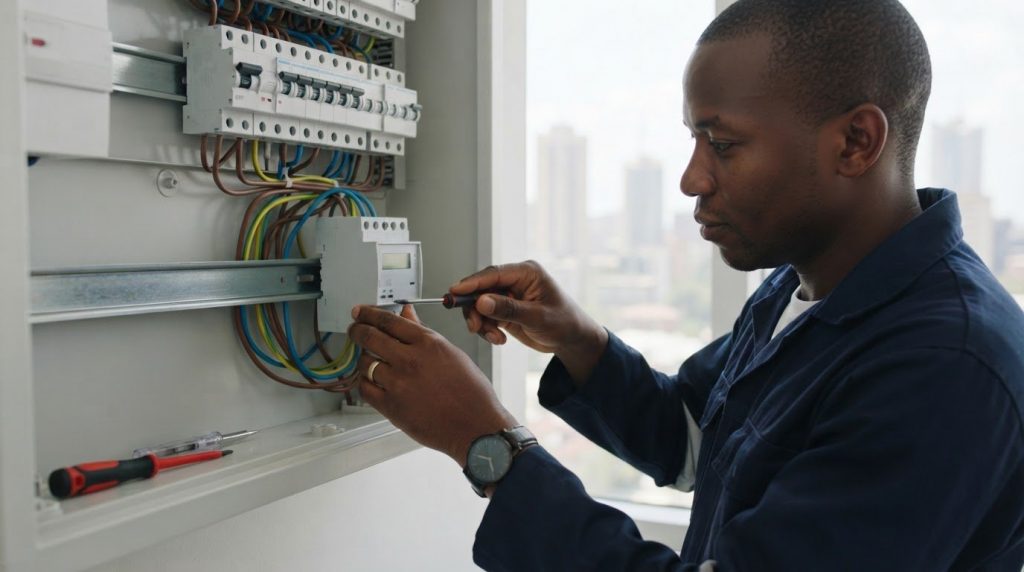
How to Mount a DIN Rail Single Phase Meter and Troubleshoot Faults
Mount a DIN rail single phase meter on a 35 mm rail, follow its wiring diagram, and disconnect the main power supply before installation. Inspect the connections before energising the installation.
A secure fit is only the first check. If the display stays blank or the meter shows no consumption, the supply, wiring and load readings can help narrow down what needs inspecting. Treat a blank display and a zero-consumption reading as separate symptoms.
This guide covers the mounting sequence, checks for those two symptoms and the main meter types to consider. You’ll see how a single-phase unit differs from a three-phase meter, what to check in the wiring diagram and when to leave troubleshooting to a qualified electrician. Use the steps to understand the installation and approach fault checks systematically.
Key Takeaways
- Separate a blank display from a zero-consumption reading by checking what each symptom indicates before taking action.
- Compare the meter’s phase type and rated electrical capacity with the supply and load it needs to measure.
- For use in Kenya, understand how applicable standards and certification requirements relate to meter selection and safe use.
- Explore smart metering options by matching the meter type to the electricity or water monitoring need.
DIN rail mounting
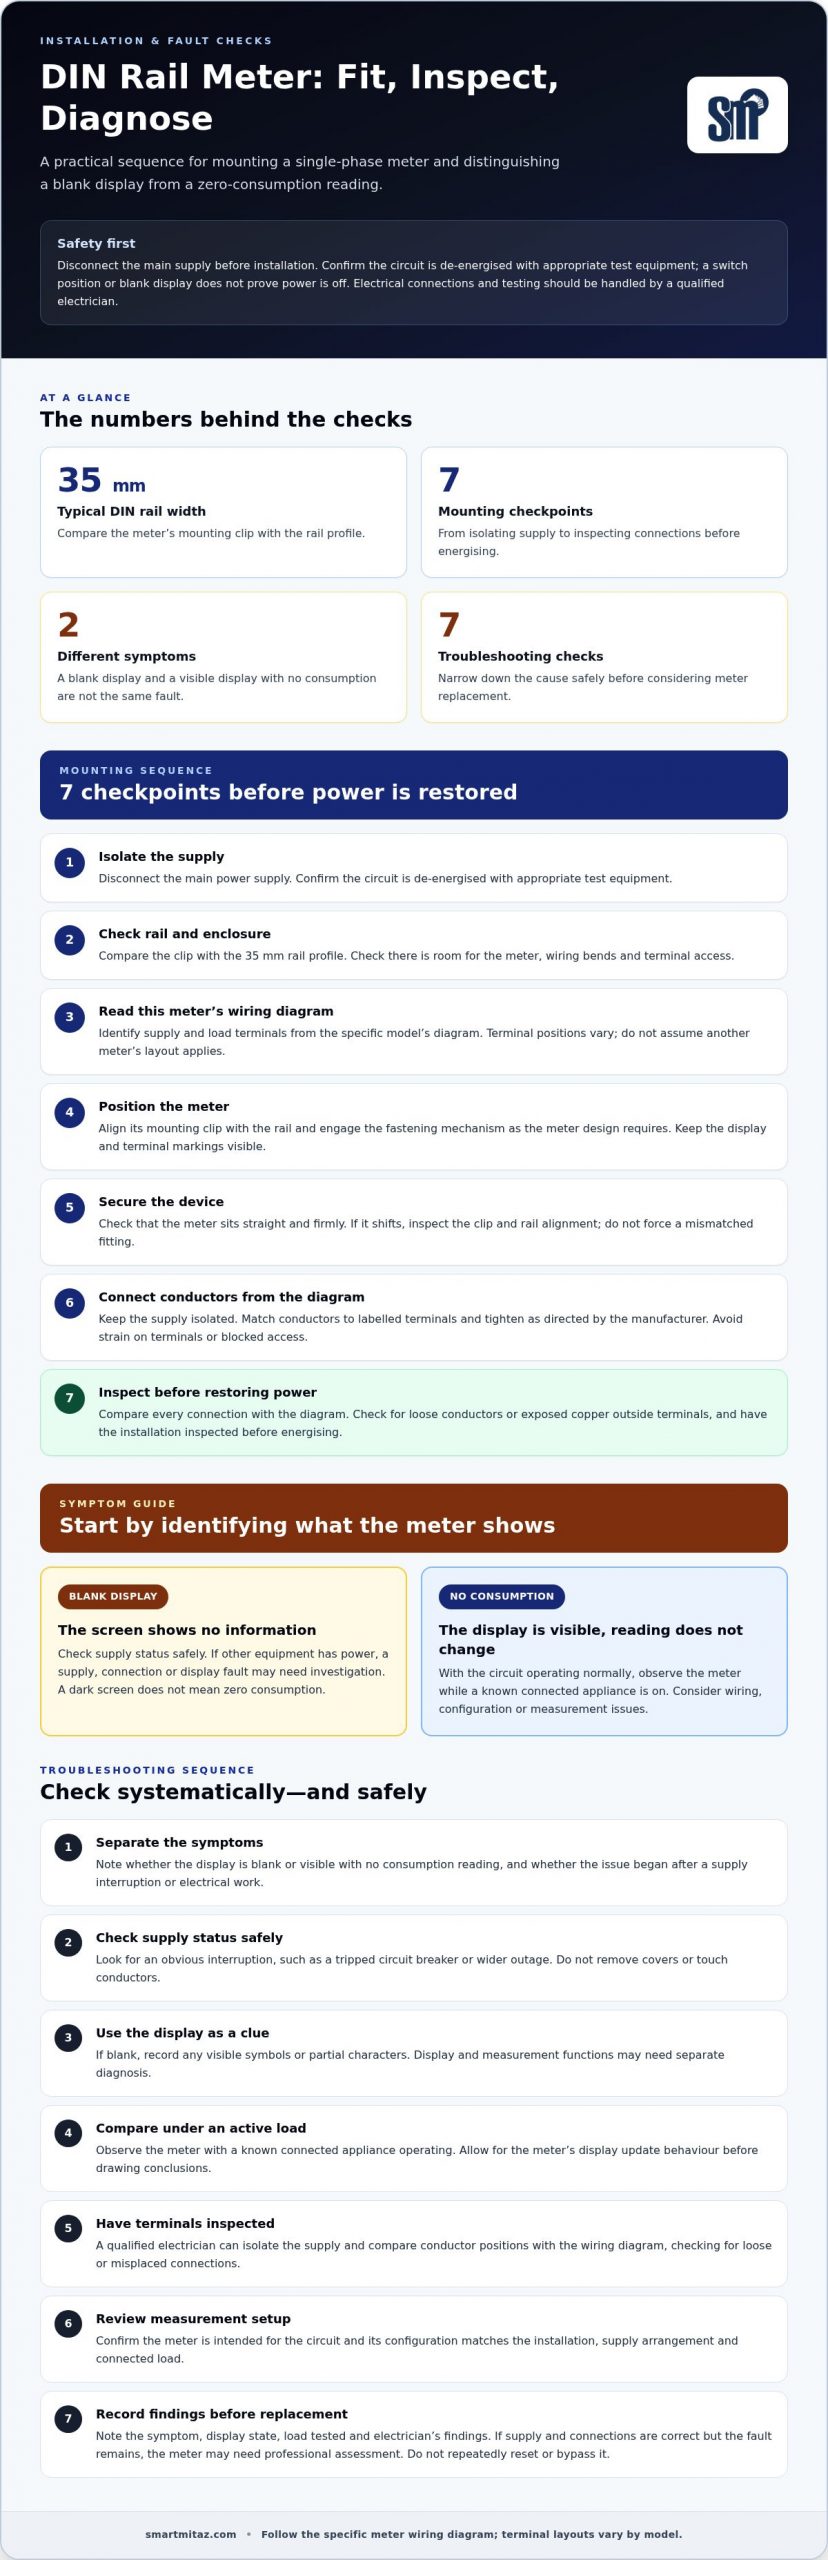
- Isolate the supply. Disconnect the main power supply before installing the meter to avoid electric shock. Confirm the circuit is de-energised with appropriate test equipment. A switch position or blank display does not prove that power is off. A qualified electrician should handle electrical connections and testing.
- Check the rail and enclosure. DIN rails used as meter mounting platforms are typically 35 mm wide. Compare the meter’s mounting clip with the rail profile before installation. Check that the enclosure provides enough room for the meter body, wiring bends, and access to terminals.
- Read the meter’s wiring diagram. Identify the supply and load terminals using the diagram for that specific meter. Terminal positions vary by model, so don’t assume a layout from another single-phase meter applies, even if both units fit the same rail.
- Position the meter correctly. Align its mounting clip with the rail and engage the fastening mechanism as the meter’s design requires. Some clips hook over one edge of the rail before snapping into place. Keep the display and terminal markings visible for reading and inspection.
- Secure the device. Check that the meter sits straight and is held firmly by the rail. If it shifts, remove it and inspect the clip and rail alignment. Don’t force a mismatched fitting. A loose mount can complicate terminal access and make later checks less reliable.
- Connect conductors from the diagram. With the supply still isolated, match each conductor to the meter’s labelled terminals. Tighten connections as directed by the manufacturer. Arrange conductors so they don’t pull on terminals or block the display and access points.
- Inspect before restoring power. Compare every connection with the wiring diagram and check for loose conductors or exposed copper outside the terminals. Have the installation inspected before energising it. Then confirm that the display responds and the reading changes when a measured load operates.
No-display and no-consumption troubleshooting
- Separate the symptoms. A blank screen means the display isn’t showing information. A visible display with no consumption reading calls for different checks. Note which symptom appears and whether it began after a supply interruption or electrical work. This distinction helps narrow the fault without assuming the meter has failed.
- Check the supply status safely. Look for an obvious interruption, such as a tripped circuit breaker or a wider outage. Don’t remove covers or touch conductors. If the circuit’s status is unclear, leave electrical testing to a qualified electrician. The meter cannot display normal readings if its operating supply is absent.
- Use the display as a clue. If the screen is blank while other equipment has power, the meter may have a supply, connection or display fault. Record any visible symbols or partial characters. A dark screen does not mean zero consumption; the display and measurement functions may need separate diagnosis.
- Compare readings under an active load. With the circuit operating normally, switch on a known connected appliance and observe the meter. If the reading remains unchanged, there may be a wiring, configuration or measurement issue. Allow for the meter’s display update behaviour before drawing conclusions.
- Have terminal connections inspected. A qualified electrician can isolate the supply and compare conductor positions with the meter’s wiring diagram. They can check for loose connections, incorrect terminal placement or a conductor that has come free. Never adjust terminals while the installation is energised.
- Review the meter’s measurement setup. Confirm that the unit is intended for the circuit and that its configuration matches the installation. A mismatch between the supply arrangement, meter type and connected load can produce readings that appear absent or incorrect.
- Record the outcome before replacing equipment. Note the symptom, display state, load tested and the electrician’s findings. If the supply and connections are correct but the fault remains, the meter may need professional assessment. Avoid repeated resets or bypassing the meter, as these actions can hide the cause.
Single-phase DIN rail energy meters
Match the meter to its circuit, intended use and monitoring needs. Compare model specifications before choosing a unit for a property in Kenya. For prepaid options, see this guide on how to choose a prepaid meter for remote management.
-
Check applicable standards and certifications
Check the meter’s conformity documents against applicable Kenyan standards before selecting it. Match the documents and markings to the exact model, not just the manufacturer or product category. A home, rental unit and small business each need a meter suited to the circuit and intended measurement. A voltage rating or DIN-rail fit alone does not prove compliance. Keep the model details and documentation together for future inspection or replacement.
-
Compare meter specifications
Compare the supply voltage, current rating, accuracy class, and pulse output with the installation’s requirements. A listed single-phase meter may use a 230 V supply, while a compact 35 mm rail model is rated 220 V and 5(32) A. A DIN rail single phase meter should match the circuit, not merely the available rail space. Check the accuracy class for measurement precision, and confirm whether pulse output is present and suitable for the intended monitoring equipment. Don’t infer either feature from an LCD display.
-
Review safety and maintenance needs
Plan for safe access and inspection before choosing a meter location. Electric shock and incorrect wiring are key risks, so leave installation and live-circuit testing to a qualified electrician. A single-phase meter is intended for a single-phase circuit, not a three-phase supply. Keep the display and terminal area accessible for maintenance, watch for damage or unusual readings, and follow the manufacturer’s instructions. If readings appear wrong, record the display and connected load, then arrange a safe inspection.
What Kenyan standards or certifications apply to single-phase electricity meters?
- Match the meter to its intended use. In Kenya, first identify whether the meter will measure a private installation, rental unit or another application. Requirements can depend on the meter’s role. A DIN-rail form factor alone does not establish suitability or conformity.
- Request model-specific conformity documents. Check the manufacturer, model designation and meter type shown on the device, then compare them with its documentation. A certificate for a different model or product family does not establish that the meter you’re considering has the same status.
- Check the applicable Kenyan Standard. Look for the standard reference relevant to the meter’s intended application in its technical documentation. Confirm that the reference matches the device type and model. Don’t rely on a general statement such as “meets international standards” without identifying the standard and supporting evidence.
- Separate conformity from electrical ratings. A voltage or current marking describes an operating specification, not certification by itself. For example, a listed compact meter rated 220 V and 5(32) A still needs its own documentation reviewed. Treat ratings, accuracy information, and conformity evidence as separate checks.
- Review measurement and installation details. Check the wiring diagram, terminal labels, accuracy class and intended circuit arrangement. These details help establish whether the meter suits the installation. A DIN-rail fitting or digital display does not prove measurement accuracy or regulatory acceptance.
- Keep records with the installed device. Retain the model details, conformity documents and installation information together to make later inspection or replacement clearer. If a document’s model reference conflicts with the meter label, pause selection until the discrepancy is resolved. Never substitute another model’s certificate.
The applicable Kenyan Standard depends on the meter’s intended application. Verify that the standard reference in its technical documentation matches the device type and model. Request conformity documents for the exact manufacturer and model, since a certificate for another model does not establish conformity.
Smartmitaz: Outdoor 4G-LoRa water meter gateway
smartmitaz offers an Outdoor 4G-LoRa water meter gateway for water-metering projects that need a gateway rather than an electricity meter. For electricity metering, its range also includes a DIN rail Single Phase Smart Prepayment Meter and a Three Phase Smart Prepayment Meter. Select according to the supply type and monitoring application; a water gateway and an electricity meter serve different purposes.
For residential water metering, smartmitaz also offers a Residential Smart Prepayment Water Meter. This is a separate product category for water monitoring, not single-phase electricity measurement. Choose the category that matches the utility system you need to monitor.
Contact smartmitaz to discuss its metering products and identify the right product category for your project.
Plan Your Next Metering Step
Let the installation’s purpose guide your next decision. A DIN rail single phase meter is for single-phase electricity monitoring; a different supply or water-measurement need calls for another product category. Clarify the application before comparing equipment and include the meter choice in your property-monitoring plan.
For electricity metering, smartmitaz offers a Single Phase Smart Prepayment Meter and a Three Phase Smart Prepayment Meter. For water-metering projects, it offers an Outdoor 4G-LoRa water meter gateway. These options address distinct monitoring needs, so focus on the utility and supply type your project involves.
Move forward with a product discussion based on your application and metering priorities. Contact smartmitaz for meter advice and take the next step toward a more practical monitoring setup.
Frequently Asked Questions
What is a DIN rail single-phase electricity meter and how does it work?
A DIN rail single phase meter measures energy passing through a single-phase circuit and displays consumption for monitoring or billing records. Its enclosure clips onto a rail inside an electrical panel. For example, a property manager in Nairobi might use separate meters to track electricity use in individual units. Consumption accumulates over time, while display and other functions depend on the model.
What types of DIN rail single-phase meters are available: direct-connected, CT-operated, and smart meters?
Direct-connected meters measure current through conductors connected to the meter, while CT-operated models use current transformers to sense current. Smart meters add digital functions that vary by model, such as prepayment and remote monitoring. Choose a DIN rail single phase meter to suit the circuit design and monitoring requirements. A rental property seeking prepaid electricity needs a suitable prepayment meter, not simply a digital display.
How do I install and wire a DIN rail single-phase meter safely?
Have a qualified electrician install and wire the meter. Before work begins, the circuit must be isolated and tested to confirm it is de-energised. Never handle exposed conductors or adjust terminals on a live circuit. The electrician should follow the specific model’s wiring diagram and verify the connection layout before restoring power. In a Nairobi property, arrange access to the panel and keep occupants clear during electrical work. Use a DIN rail single phase meter only on its intended circuit.
[…] DIN rail mounting uses the rail as the meter’s physical support. Designed to snap onto the rail, the meter does not require a separate complex fixing process. In a distribution box, this can make it easier to arrange alongside related equipment. Leave space for wiring and access to the meter’s indicators or display. A tight fit can make operation and inspection less practical. […]